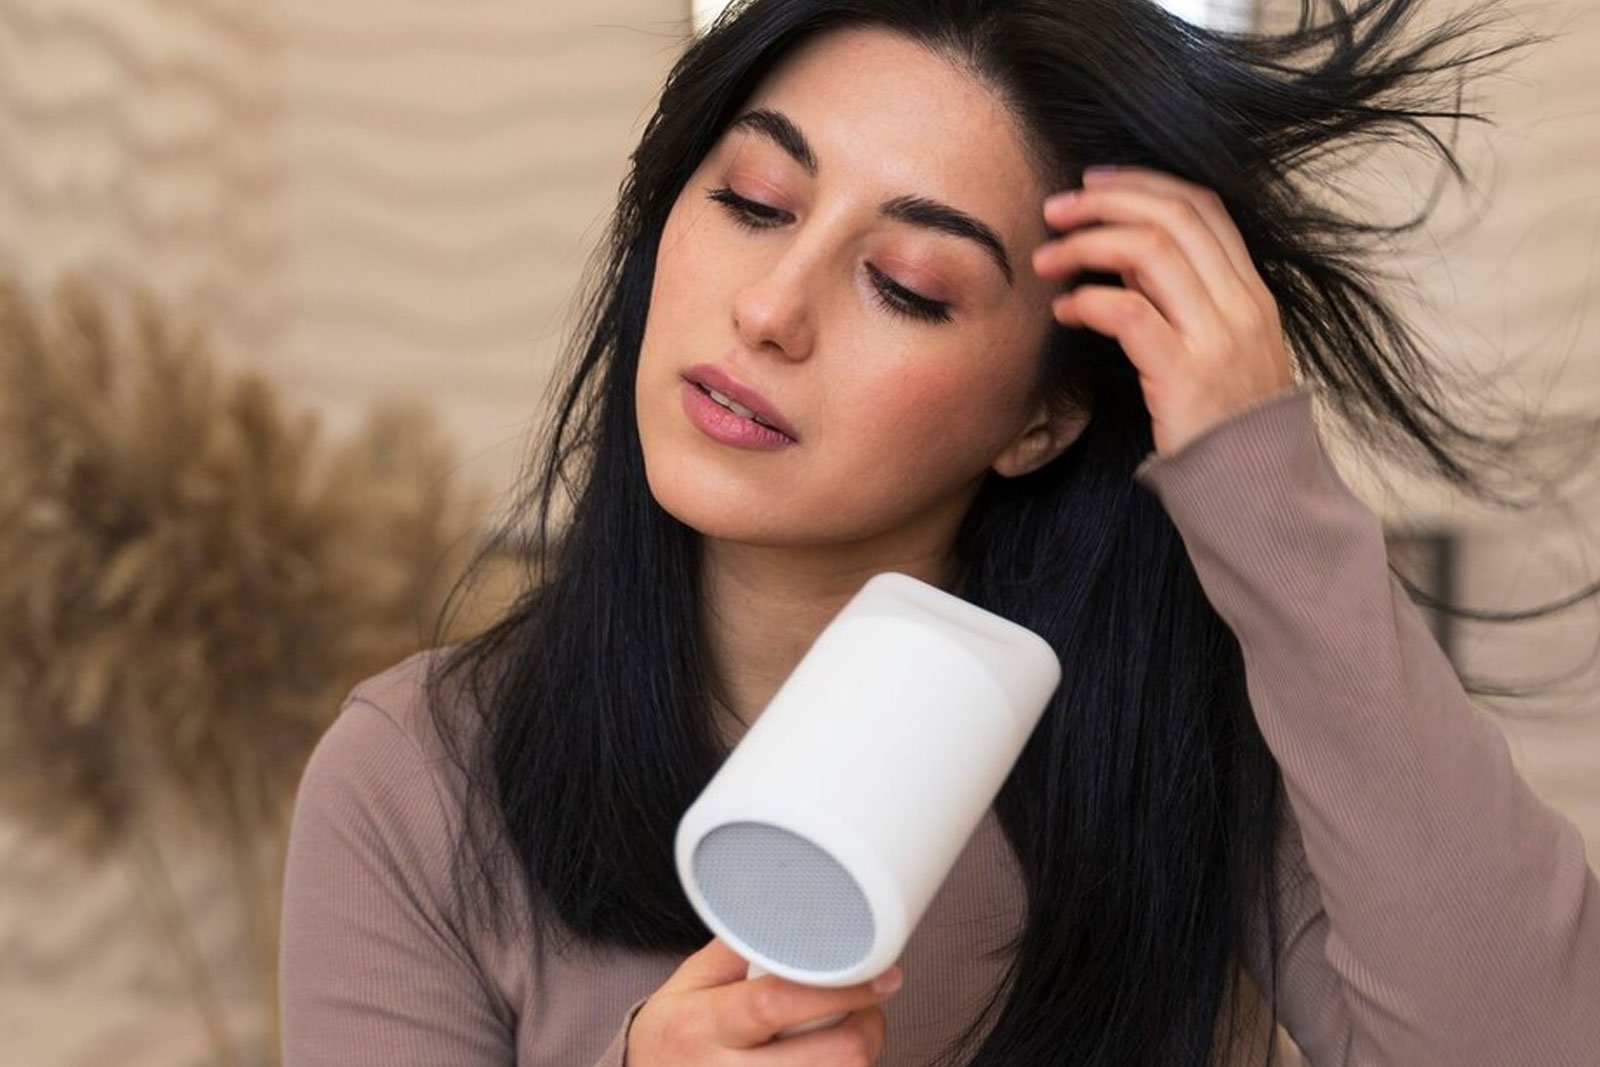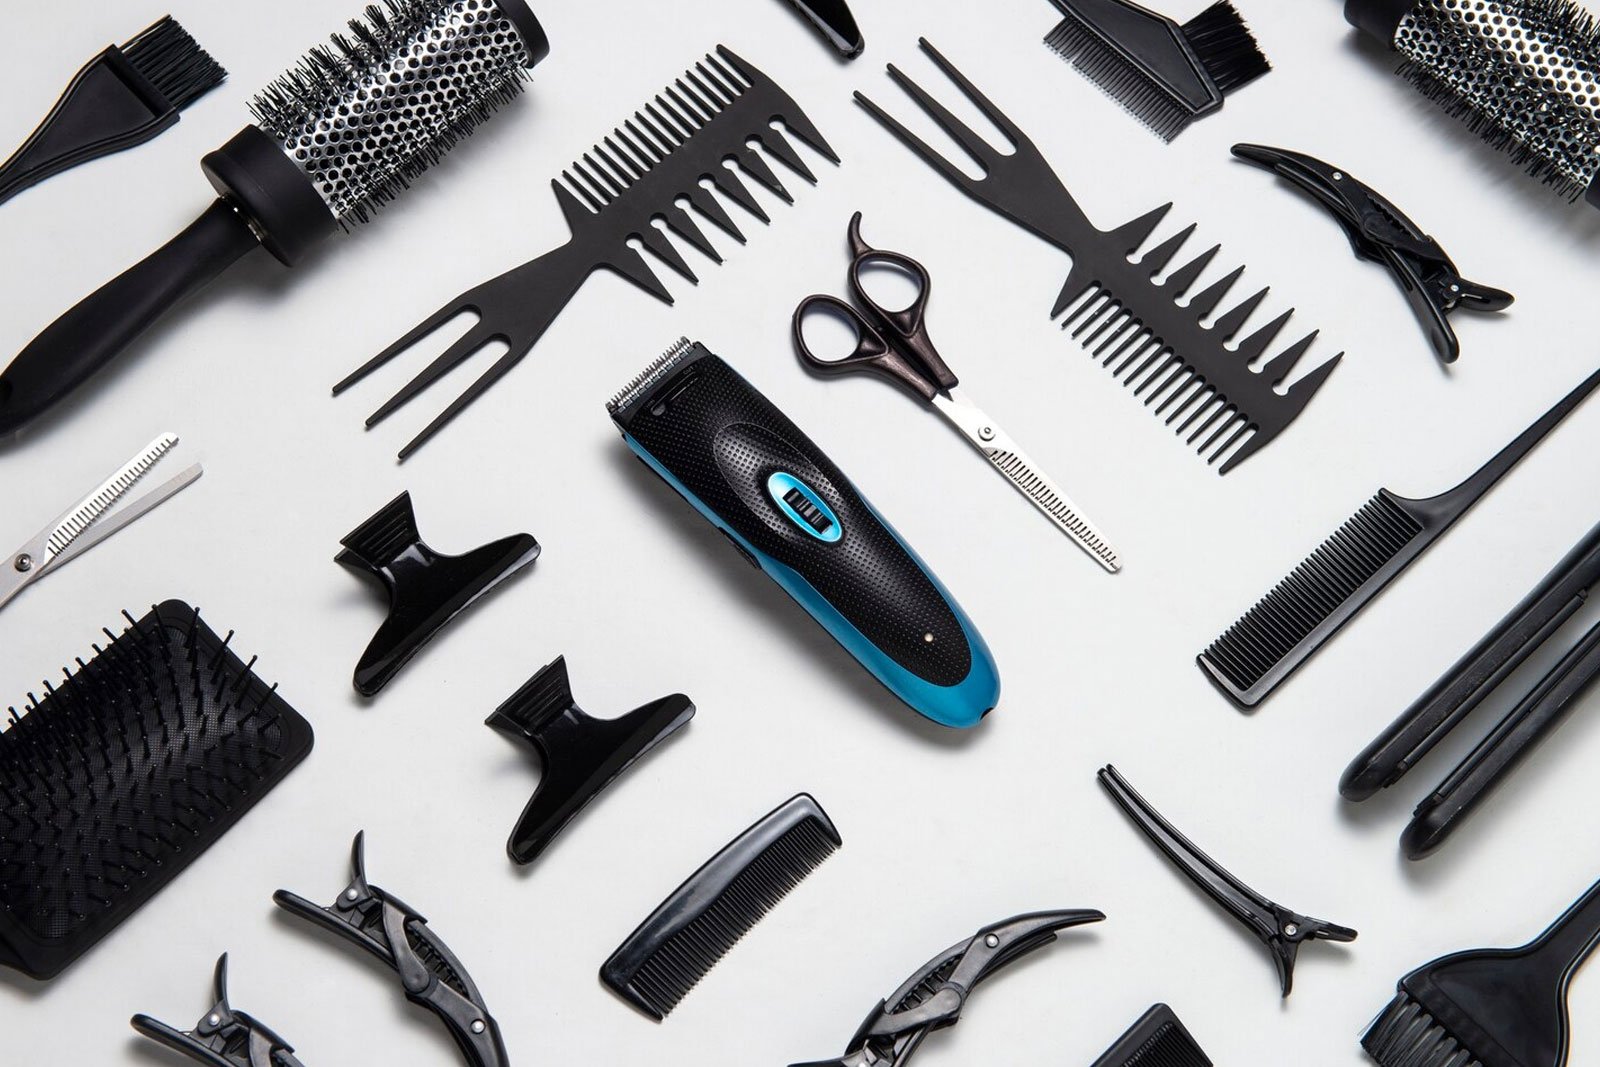

A great blowout can transform how your hair looks and feels, and much of that comes down to technique rather than expensive equipment. Professional stylists follow a fairly consistent process, and once you understand the logic behind it, you can replicate it at home with practice.
Set Yourself Up for Success Before You Start
Start with hair that’s about 70 to 80 percent air-dried or towel-dried, blow-drying fully soaking wet hair takes longer and increases heat exposure without improving the result. Apply a heat protectant evenly through damp hair, focusing on mid-lengths and ends where hair is oldest and most vulnerable to damage. If you want extra body, a root-lifting mousse or volumizing spray applied at the roots gives your blowout something to hold onto.
Comb hair through to remove tangles, then divide it into sections, typically four: two on top separated by a middle part, and two underneath at the nape. Clip the top sections up and out of the way so you’re always working with a manageable amount of hair.
Work From the Bottom Up
Always dry the underneath layers first. This is a core professional habit that’s easy to skip at home but makes a real difference, since the top layers will cover and smooth over the underlayers once you’re done. Release one bottom section at a time, and use your round brush to lift hair away from the scalp at the roots, directing airflow downward along the hair shaft as you dry. Drying with the airflow moving in the same direction as the cuticle, from root to tip, is what creates that smooth, shiny finish rather than a frizzy one.
Master the Root Lift
For volume, take small sections at the crown and root area, wrap the hair around a round brush, and hold it upward, almost perpendicular to your head, while directing hot air at the base for several seconds. Then switch to the cool shot to set that lift before releasing the section. This step is what gives professional blowouts their signature root volume, and it’s one of the easiest techniques to replicate with a bit of patience.
Smooth the Mid-Lengths and Ends
For the mid-lengths and ends, use a slightly larger round brush and rotate it under the hair as you dry, following the brush with the dryer nozzle pointed downward. Moving the brush slowly and steadily, rather than rushing through, creates smoother results with fewer flyaways. If you want a sleeker finish, a nylon or boar-nylon blend brush helps tame frizz better than an all-boar brush on coarser or thicker textures.
Finish With the Cool Shot and Product
Once every section is dry, do a final pass with the cool shot over your entire head to lock the cuticle and boost shine. This is a step professional stylists never skip, and it’s often the missing piece in home blowouts that fall flat or frizz up within an hour. Finish with a small amount of shine serum or anti-frizz oil, smoothed from mid-length to ends, and a light mist of hairspray if you want extra hold.
Common Mistakes to Avoid
Using too high a heat setting can actually slow drying by causing the cuticle to seal moisture in temporarily, so a medium-high heat with strong airflow is usually more efficient than max heat. Also avoid brushing dry hair with the same brush you styled with immediately after finishing, this can undo the smoothness and volume you just created.
With the right sectioning, brush technique, and a well-timed cool shot, a salon-quality blowout is absolutely achievable at home. To build the right toolkit, SalonBrandz.com offers professional dryers, brushes, and heat protectants designed for exactly this kind of styling.